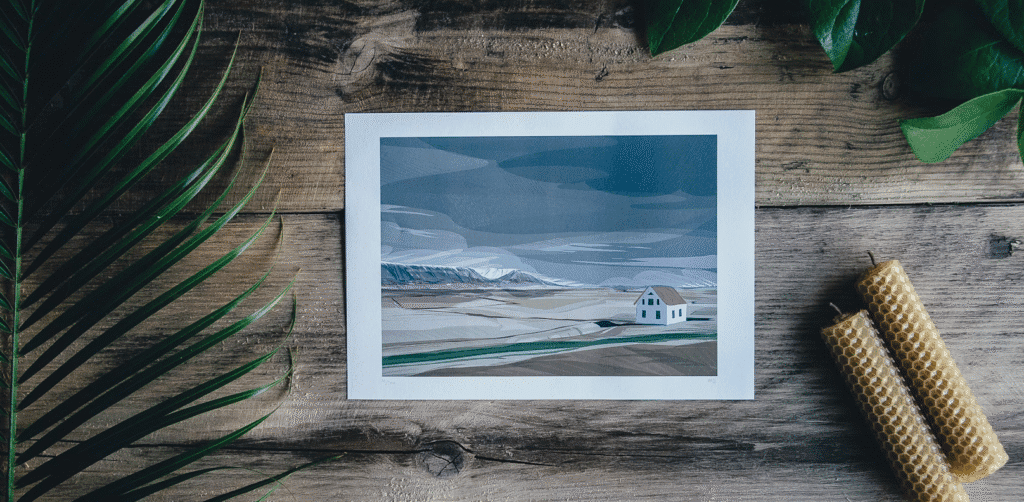
transform Printed Pictures or Printed Art into a textured masterpiece – inexpensively
Learn a creative way to breathe new life into your printed pictures. Discover how you can DIY transform printed pictures with just a few simple materials – glue being the star of the show – to turn those glossy photos into beautiful, textured masterpieces that look like paintings. Here’s a step-by-step guide to show you how to achieve this effect.
Materials You’ll Need
- A Printed Picture: Any photo or printed painting will do, but pictures with high contrast and rich colors tend to work best for this DIY project.
- White Elmers Glue: It’s your secret weapon for this project! Make sure you have enough to cover your entire image.
- A Paintbrush: Any type will do, but a flat brush is typically best for spreading the glue evenly.
- A Palette Knife: Optional, but useful if you want to create more pronounced, painterly textures.
Step-by-Step Guide:
Step 1: Prep Your Work Area
First things first, make sure your work area is clean and you’re not at risk of ruining any important documents or surfaces with stray glue. Lay down some newspaper or a drop cloth to protect your workspace before you start your DIY project.
Step 2: Apply a Thin Layer of Glue
Start by applying a thin layer of glue over your image. You can pour the glue directly onto the photo and then use your paintbrush to spread it around. Make sure the entire picture is covered, but be careful not to use so much glue that it pools up when transforming printed pictures into art.
Step 3: Add Texture
Now, it’s time to get creative and add texture to your image! You can create the illusion of brush strokes by dragging your paintbrush through the glue. Use both horizontal and vertical strokes to mimic the cross-hatching technique used in traditional painting. For more depth and texture, you can use a palette knife to create thicker, more visible lines that transform printed pictures into masterpieces.
STep 4: Let it Dry
Once you’re satisfied with the texture you’ve created, let your image dry. This can take a few hours to a whole day, depending on the amount of glue used and the humidity in your environment. It’s crucial to ensure complete drying when you DIY transform printed pictures.
Step 5: Display Your Masterpiece
Now that your image is dry, put it in your favorite vintage or antique frame, and it’s ready to be displayed! The dried glue should give your printed picture a textured, painted appearance, adding a unique element to your favorite images and transforming them into stunning art pieces.
Tips for Success:
- Experiment with different glue application techniques. Thicker applications will provide more texture but will also take longer to dry.
- Don’t be afraid to mix things up! Try applying the glue in different patterns and textures to create different effects.
- Practice makes perfect. Experiment with a few different photos before moving on to your favorite ones.
There you have it, a simple and fun DIY project that adds a creative touch to your printed photos. With a little bit of patience and a lot of creativity, you can transform your pictures into textured, painted masterpieces. So, grab your white glue and let your creativity flow!
Ready to Perfect Your Space?
Looking for a design to help bring that art masterpiece to life? Let’s connect and discover that final detail together.
Proudly Serving Kalamazoo & West Michigan.

